I've got a great tutorial for you to try this weekend! As you know, last Saturday we spent the day at the Greenville Children's Museum teaching kids how to make their own stamps. Turns out, it is the most fun craft ever! We've been making them non stop--and stamping everything paper in sight.
So we want to share this super easy yet very rewarding tutorial. And I promise, once you get started, you can't stop yourself.

Supplies:
-Adhesive backed foam sheets -2 inch by 1/4 inch wood squares -Scissors -Pen -Ink pads -Paper (wrapping paper, notebook, gift bags, etc.)

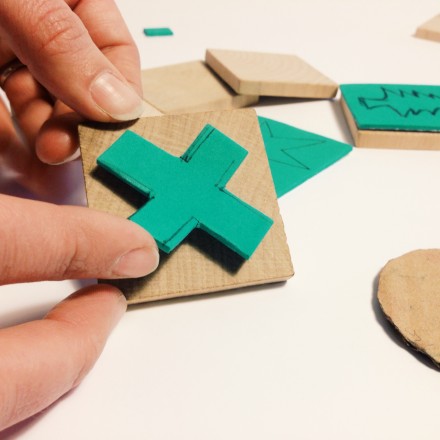
1) Cut a piece of foam roughly the size of the woodblock. 2) Draw the shape of your stamp on the foam. Don't forget, your stamped image will be backwards, so draw your shape the opposite of how you want it to stamp.

3) Cut along your drawing.
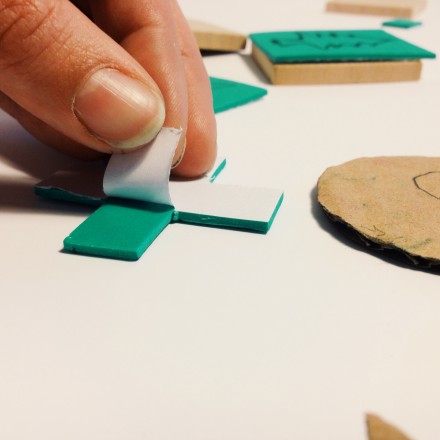
4) Peel off the paper to show the glue on the back of the block.

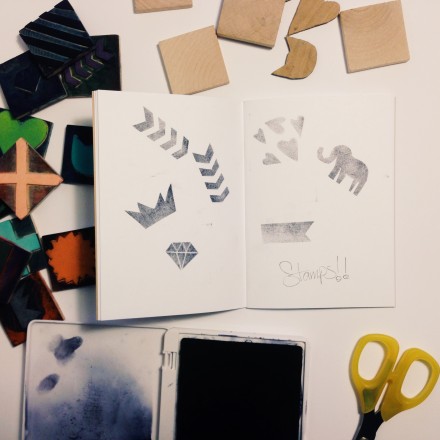
Here are some of the shapes we've made. The possibilities are endless!

After that, just place the stamp face down into the stamp ink pad. Press all around to distribute the ink evenly.


THEN STAMP AWAY!!