You know we love to get people crafting, so why don't you spend part of your weekend working on an awesome project like this paper wreath we're featuring today. You can either make your own from scratch using our instructions, or you could be the lucky person who wins a craft kit all your very own. All you have to do is comment at the end of the post. You'll be automatically entered in a drawing for the craft kit. Here's another project from The Best Craft Party Ever: Paper Wreaths. The coolest thing about this project is it's inspired by crafty maven Mollie Green. This is one of the wreaths she included in her awesome book, Sweet Paper Crafts, published by Chronicle books, releasing in June 2013 (available for pre-order now).

Supplies: · various papers · pencil · scissors · templates · glue stick · glitter (optional) · glue dots · wreath form
The following instructions are specific to the butterfly cutout, but the same instructions apply to any of the templates.
1. Trace templates onto paper.
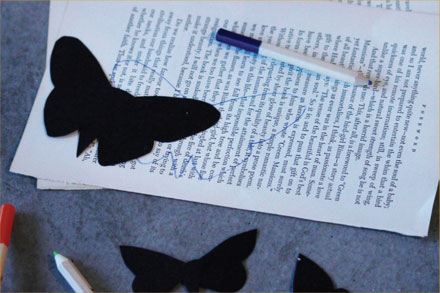
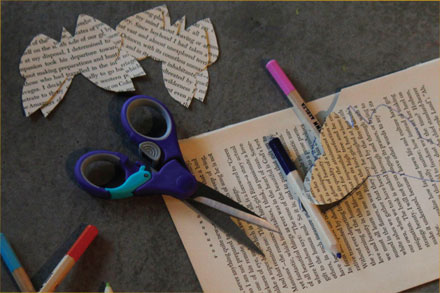
2. Stack two papers together and cut out the butterflies, keeping each butterfly pair together. Depending on the size of your templates, you will need anywhere from 12-20 butterfly pairs.
3. (Optional step) When you’ve cut out your pairs, apply glitter to the wings of one of the butterflies in the pair.
Pour the included glitter onto one of your large scrap pieces of paper.
Using a glue stick, rub a small amount of glue around the perimeter of the wings.
Gently press the glued portion of the wing into the glitter and tap off the excess. Repeat this step for as many or as few of the butterfly pairs as you like.

4. Adhere the butterfly pairs to the provided wire wreath form: Take a pair of butterflies and apply 3 or 4 glue dots to the body (not the wings) of one butterfly and place it under the wire form, pressing to adhere.

Take the other butterfly body and attach it to the wire directly above the first butterfly, lining up the bodies and the wings.
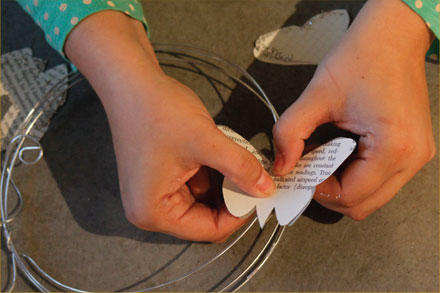
**NOTE: The glue dots have a double sided adhesive, so the easiest way to transfer them to the butterfly is to take a single dot (with the backing still on) and press the exposed sticky side into the paper. Once secure, peel the backing away, and the glue dot should remain on the butterfly.
5. Continue gluing butterflies to your wreath until you are satisfied with the arrangement. You can go for a full look, or an open, airy feel.

6. Once you’ve finished, bend open the wings of each butterfly for a fuller, more fluttery wreath.

PFor the templates to Mollie's wreaths, check these out: Paper Wreath Templates.
And don't forget to comment below for a chance to win a kit!